
How We Now Plan Lighting for Presenters and Cameras Together
Our lighting design service now begins with a joint walk-through of the set, so key, fill and backlight plans are shaped by what the cameras and the presenters actually need.
What has changed in our lighting design service
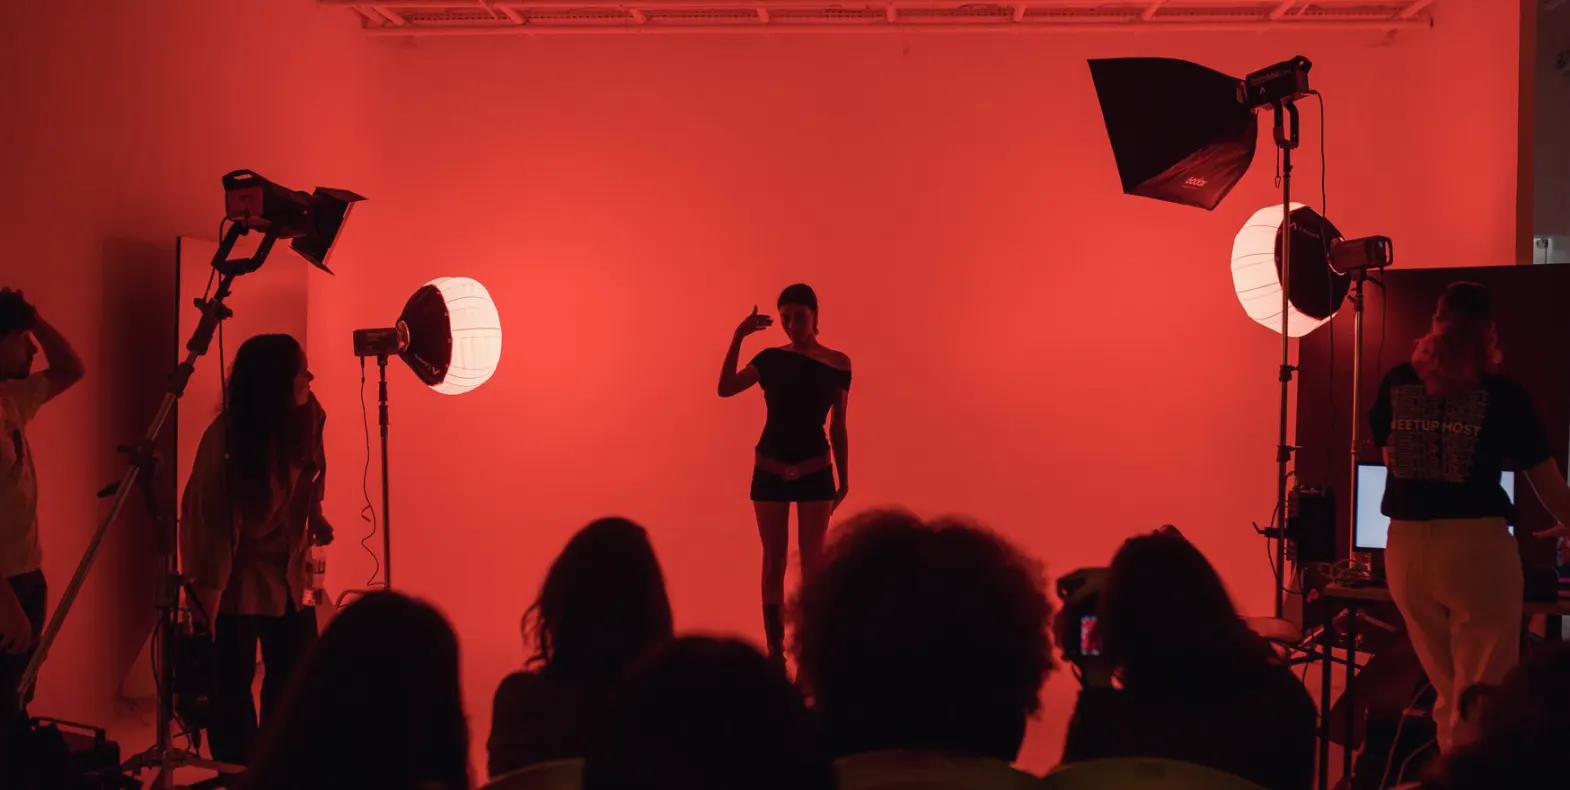
Over the autumn we have reorganised how a lighting design job starts. Before any fixture is chosen, Daniel Okafor and a camera specialist now walk the studio together with the production team, looking at the set from the camera positions rather than from the floor. It sounds like a small adjustment, yet it has removed a good deal of back and forth from our projects.
The reason is simple. A plan drawn from a floor plan alone tends to favour the look of the set and forgets that the presenter has to be comfortable under it. A plan built only around the camera can leave faces flat or eyes in shadow. Doing both assessments at the same visit means the written plan reflects one agreed picture.
I write this as the acoustics consultant, and I see the same pattern in my own field: a room only works when the people using it were consulted before the equipment arrived. That habit is what we are now applying to lighting as well, and it shapes everything described below.
Key, fill and backlight in plain terms
The key light is the main source on the presenter's face. It sets direction and brightness, and it is usually placed slightly to one side of the camera and above eye level. The fill light is softer and sits on the opposite side. Its job is to lift the shadows the key creates so that features stay readable without looking flat.
The backlight sits behind and above the presenter, aimed at the shoulders and hair. It separates the person from the set behind them and gives the shot some depth. Without it, a dark jacket against a dark panel can merge into one shape on screen.
Each plan we produce states the position, angle and intended level of all three for every presenter position on the set. For a news desk with two seats, that means a clear arrangement for each seat and a note on how the two overlap, because shared light often causes unwanted shadows on the neighbouring presenter.
- Key: main face light, set off-axis and above eye level
- Fill: softer light that opens up the shadows
- Backlight: separation from the set behind the presenter
Dimmable fixtures and why we specify them
Our plans use dimmable fixtures wherever the budget allows, and we explain the reasoning rather than simply listing a product type. Dimming lets a studio balance a programme to the cameras in use, adjust for a guest with pale or very dark skin, and reduce the level during rehearsal so presenters are not squinting for twenty minutes before going live.
There is a practical side as well. Lower output means less heat in the studio and a smaller draw on the power supply, which matters in older buildings where the circuit capacity was never designed for a broadcast rig. Daniel balances look, heat and power use in each plan, and the written report shows the expected load so a facilities team can check it against the building.
Dimming also gives a studio room to change later. A set that is repainted or rearranged can be rebalanced from the control desk instead of by climbing a ladder to move fixtures.
How a lighting visit now runs
A visit begins with the camera positions. We note lens choices, shot sizes and where each camera moves during a typical programme. Then we look at the presenters: where they sit or stand, how long they stay in one place, and whether guests come and go. Only after that do we look at the grid, the existing fixtures and the power available.
During the visit we take reference frames from each camera at the current lighting, so there is a record of the starting point. The report then compares the proposed changes against those frames and describes what should look different and what should stay the same.
We try to keep the first visit to a single day for a small studio. Larger multi-camera studios take longer, and we say so at the quotation stage instead of promising a fixed duration before we have seen the room.
- Camera positions, lenses and movement noted first
- Presenter positions and guest changes recorded
- Grid, existing fixtures and available power checked last
What to prepare before we arrive
The most useful thing you can send us is a short description of a normal programme: how many presenters, how many guests, and where each of them sits. A rough sketch of the set on paper is plenty. If you have a run sheet from a recent show, that tells us when the lighting needs to change and when it can stay still.
It also helps to know who looks after the studio day to day. Lighting plans are only as good as the people who maintain them, and we would rather include the operator in the walk-through than hand over a document that nobody on site recognises.
Finally, tell us about any limits we should respect: ceiling height, grid load, noise from fixture fans near microphones, or a landlord who restricts changes to the building. Priya here would add that fan noise is worth raising early, because it affects microphone placement as much as the lighting layout does.
Where this fits with our other services
Lighting rarely stands alone. A plan written alongside camera setup avoids glare on lenses and reflections in monitors. A plan written with the acoustic layout avoids fixtures that hum or panels that sit exactly where a microphone boom needs to swing. We offer lighting design as a service in its own right, but we are glad to coordinate it with the rest of the studio when a team asks.
The result is a document your crew can follow without us in the room: positions, levels, load figures and a short maintenance note. The service is priced on our prices page, and the first step is an enquiry through the contact page, followed by a written quotation.
A good lighting plan serves the presenter and the camera at once, and the easiest way to get there is to look at both before choosing a single fixture. That is the change we have made this autumn, and it is already making our reports shorter and clearer. If your studio lights feel harsh, flat or simply hard to manage, send us a description of your set through the contact page and we will talk it through.